Overview
Not every order comes through The Board. Customers reach out by phone, text, DM, or in person. When that happens, you can create an order manually so it still flows through your full workflow — capacity planning, invoicing, production, and delivery.When to Use Manual Orders
Manual orders are for any situation where the customer does not fill out The Board themselves:- A regular calls in with their usual weekly order.
- Someone messages you on Instagram asking for a birthday cake.
- A walk-in customer at a market wants to place a future order.
- You need to create an order on behalf of a corporate client.
Step 1: Start a New Order
- Open The Board.
- Tap New Order.
Step 2: Pick or Create a Client
Open the Client field and pick the customer from the list, or type to search. New customer? You don’t have to leave the form — tap + New Client right at the top of the list and add their details inline, then carry on building the order.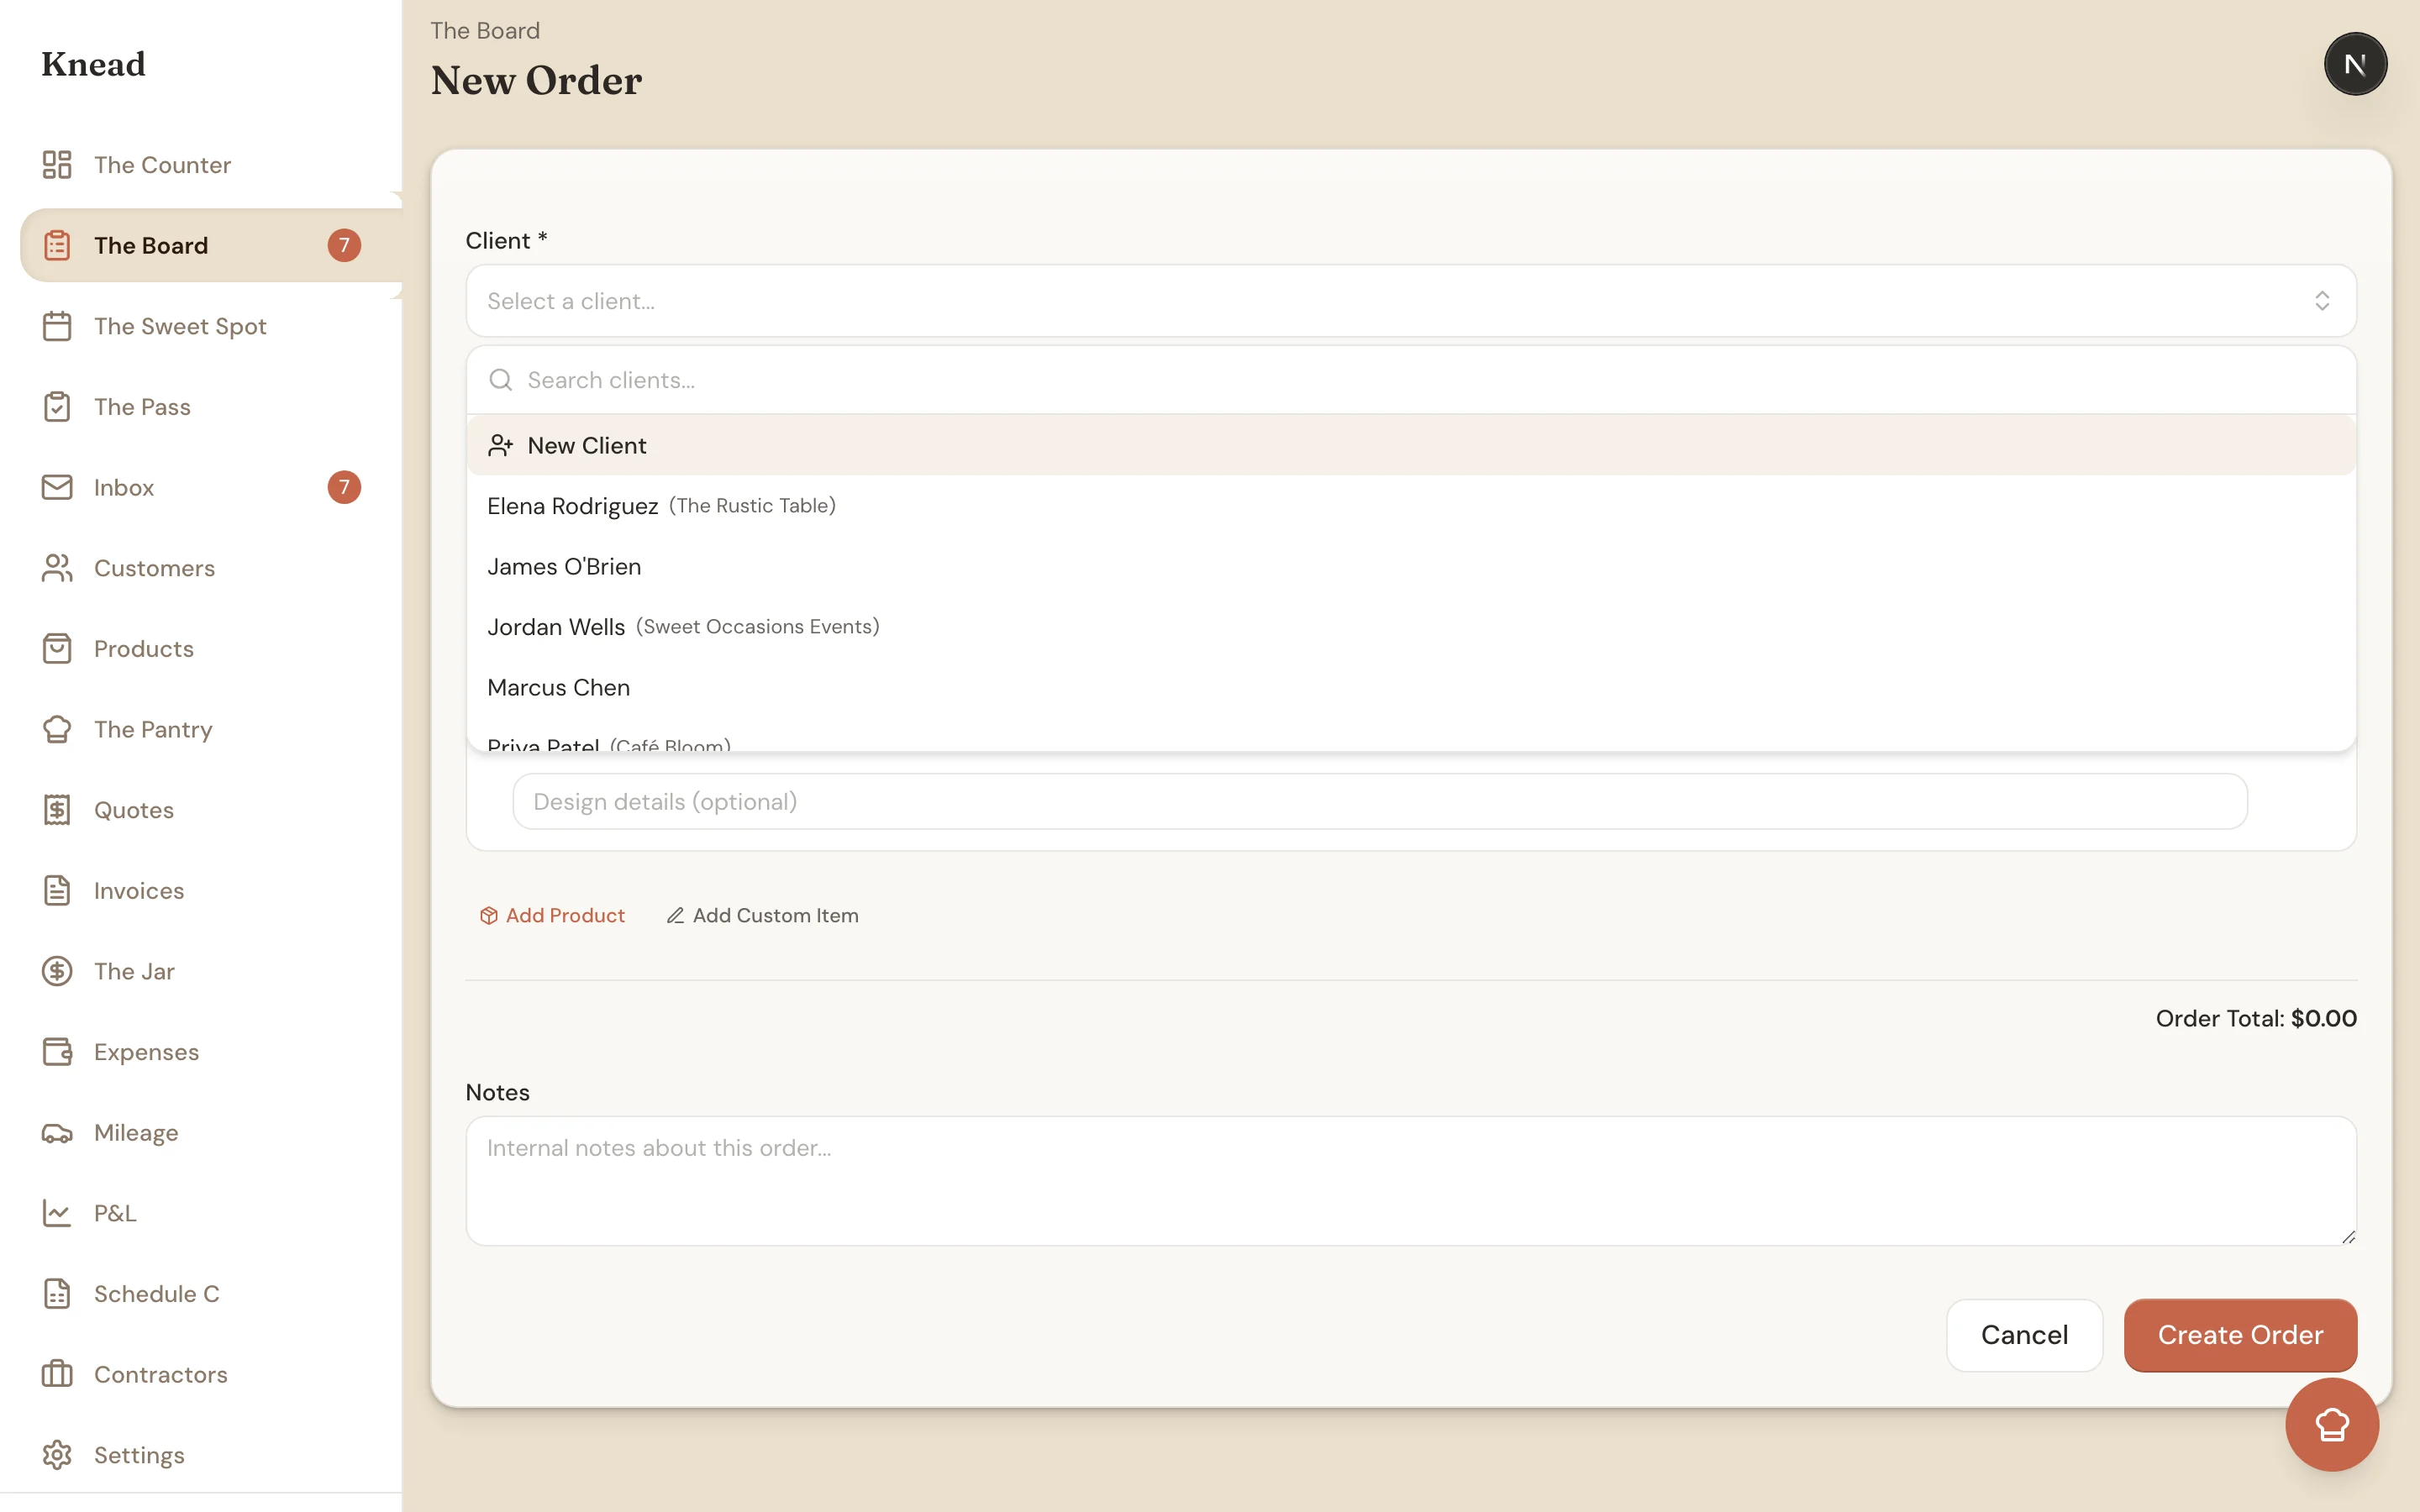
Step 3: Add Line Items
- Tap Add Product.
- Search for a product from your catalog. (Need something that isn’t in your catalog? Tap Add Custom Item to type a one-off name and price instead.)
- Select a variant if the product has multiple options (size, flavor, frosting).
- Set the quantity.
- Adjust the unit price if needed — for example, a returning customer with a standing discount.
Step 4: Set the Dates
- Delivery date (required): The day the customer expects to receive their order. This date determines where the order appears on The Sweet Spot.
- Event date (optional): Useful when the baked goods are for a specific occasion. Helps you prioritize and add context.
Step 5: Choose Delivery Type
Select Delivery or Pickup. If you choose pickup, Knead uses your configured pickup location. If you choose delivery, you can enter or confirm the delivery address from the client’s profile.Step 6: Add Baker Notes
Baker notes are internal. The customer never sees them. Use this field for anything you want to remember — special decoration details, parking instructions, timing reminders.Step 7: Create the Order
Tap Create Order. Knead creates the order with Confirmed status, adds it to The Sweet Spot on the delivery date, and generates a draft invoice. From here you can send the invoice, start production when baking day arrives, or make edits as needed.Good to know: Manual orders do not go through the enquiry step. They are confirmed immediately, so make sure the details are correct before saving.
Related Articles
- Order Statuses Explained
- How The Board Works (Your Order Form)
- Your Client List
- Creating and Sending Invoices
Still need help? Contact us