> ## Documentation Index
> Fetch the complete documentation index at: https://help.kneadapp.co/llms.txt
> Use this file to discover all available pages before exploring further.
# Forwarding from Apple Mail — macOS & iCloud Setup
> Step-by-step guide to forwarding customer emails from Apple Mail on your Mac or iCloud Mail to your Knead inbox.
## Overview
If you use Apple Mail on your Mac or iCloud Mail as your business email, you can set up forwarding so customer messages automatically land in your Knead inbox. This guide covers both approaches: rules in Apple Mail on your Mac and auto-forwarding through iCloud.com.
## Before You Start
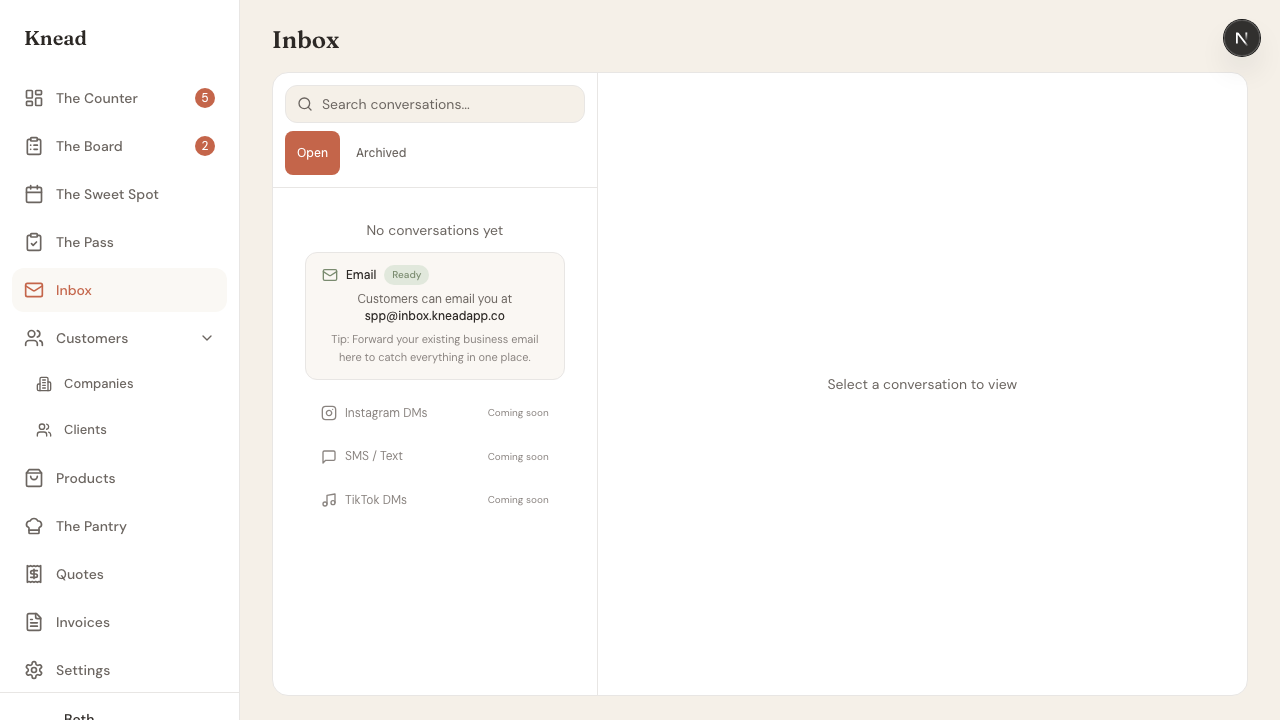
You need your Knead inbox address. It follows this format:
```
{your-slug}@inbox.kneadapp.co
```
Find it in **Settings > Business Profile** inside Knead. Copy it — you will paste it in the steps below.
## Option 1: Apple Mail Rules on Your Mac
Mail rules let you forward specific emails to Knead while keeping everything else in your regular inbox. This is the best option if you only want to forward customer messages, not newsletters and spam.
1. Open **Mail** on your Mac.
2. In the menu bar, go to **Mail > Settings** (or **Mail > Preferences** on older macOS versions).
3. Click the **Rules** tab.
4. Click **Add Rule**.
5. Give the rule a name — something like "Forward to Knead."
6. Set the conditions for which emails to forward. Some useful options:
* **Any message** — forwards everything to Knead.
* **From contains** a specific domain — forward only emails from a customer's company.
* **Subject contains** keywords like "order," "cake," "quote," or "delivery."
* **Sender is in my Contacts** — forward emails only from people in your address book.
7. Under **Perform the following actions**, choose **Forward Message** from the dropdown.
8. Enter your Knead inbox address (e.g., `spp@inbox.kneadapp.co`).
9. Click **OK**, then **Apply**.
 Pro tip: Start with a narrow rule — for example, only forwarding emails that contain "order" or "cake" in the subject. You can always broaden it later. This keeps your Knead inbox focused on actual customer conversations.
### Important: Your Mac Must Be On
Apple Mail rules run locally on your Mac. If your Mac is asleep, turned off, or Mail is not open, the rule will not forward emails until you open Mail again. If you need forwarding to work 24/7 regardless of whether your computer is on, use Option 2 (iCloud forwarding) instead.
## Option 2: iCloud Mail Auto-Forwarding
If your email address is an iCloud address (`@icloud.com`, `@me.com`, or `@mac.com`), you can set up forwarding through iCloud.com. This runs on Apple's servers, so it works even when your Mac is off.
1. Open a browser and go to [iCloud.com](https://www.icloud.com).
2. Sign in with your Apple Account.
3. Click **Mail**.
4. Click the **Settings** icon (gear icon) in the bottom-left corner.
5. Click **Forwarding**.
6. Check **Forward my email to**.
7. Enter your Knead inbox address (e.g., `spp@inbox.kneadapp.co`).
8. Choose whether to keep a copy in iCloud — we recommend **keeping a copy** so you have a backup.
9. Click **Done**.
Good to know: iCloud forwarding sends all incoming email to Knead. Unlike Mac-based rules, you cannot filter by subject or sender. If you want selective forwarding, use Apple Mail rules on your Mac (Option 1) or set up a filtering rule in iCloud Mail's rules section.
## Option 3: iCloud Mail Rules (Selective Server-Side Forwarding)
If you want server-side forwarding but only for certain emails, iCloud Mail rules give you the best of both worlds.
1. Go to [iCloud.com](https://www.icloud.com) and open **Mail**.
2. Click the **Settings** icon, then **Rules**.
3. Click **Add a Rule**.
4. Set a condition — for example, "Message is from" a specific customer, or "Subject contains" a keyword.
5. Set the action to **Forward to** and enter your Knead inbox address.
6. Click **Done**.
These rules run on Apple's servers, so they work even when your Mac is off. You can create multiple rules for different customers or keywords.
## Testing Your Setup
After setting up forwarding:
1. Send a test email to your Apple Mail or iCloud address from a different email account.
2. Open Knead and check your inbox.
3. The test email should appear as a new conversation within a minute or two.
If the email does not appear, double-check that you entered the correct Knead inbox address and that the forwarding rule is enabled.
## Troubleshooting
**Emails are not arriving in Knead**
* Make sure Mail is open on your Mac (for Option 1).
* Check that the rule is enabled in Mail > Settings > Rules.
* Verify you typed the Knead inbox address correctly — look for typos in the slug.
**Only some emails are forwarded**
* Check your rule conditions. If you set "Subject contains order," emails without "order" in the subject will not be forwarded.
**Duplicate messages in Knead**
* If you set up both a Mac rule and iCloud forwarding, emails will be forwarded twice. Use one method, not both.
## Related Articles
* [Setting Up Your Inbox](/communication/setting-up-your-inbox)
* [Setting Up Email Forwarding](/integrations-and-setup/setting-up-email-forwarding)
* [Connecting Gmail](/communication/connecting-gmail)
* [Order Intent Detection](/communication/order-intent-detection)
***
*Still need help? [Contact us](mailto:hello@kneadapp.co)*
Pro tip: Start with a narrow rule — for example, only forwarding emails that contain "order" or "cake" in the subject. You can always broaden it later. This keeps your Knead inbox focused on actual customer conversations.
### Important: Your Mac Must Be On
Apple Mail rules run locally on your Mac. If your Mac is asleep, turned off, or Mail is not open, the rule will not forward emails until you open Mail again. If you need forwarding to work 24/7 regardless of whether your computer is on, use Option 2 (iCloud forwarding) instead.
## Option 2: iCloud Mail Auto-Forwarding
If your email address is an iCloud address (`@icloud.com`, `@me.com`, or `@mac.com`), you can set up forwarding through iCloud.com. This runs on Apple's servers, so it works even when your Mac is off.
1. Open a browser and go to [iCloud.com](https://www.icloud.com).
2. Sign in with your Apple Account.
3. Click **Mail**.
4. Click the **Settings** icon (gear icon) in the bottom-left corner.
5. Click **Forwarding**.
6. Check **Forward my email to**.
7. Enter your Knead inbox address (e.g., `spp@inbox.kneadapp.co`).
8. Choose whether to keep a copy in iCloud — we recommend **keeping a copy** so you have a backup.
9. Click **Done**.
Good to know: iCloud forwarding sends all incoming email to Knead. Unlike Mac-based rules, you cannot filter by subject or sender. If you want selective forwarding, use Apple Mail rules on your Mac (Option 1) or set up a filtering rule in iCloud Mail's rules section.
## Option 3: iCloud Mail Rules (Selective Server-Side Forwarding)
If you want server-side forwarding but only for certain emails, iCloud Mail rules give you the best of both worlds.
1. Go to [iCloud.com](https://www.icloud.com) and open **Mail**.
2. Click the **Settings** icon, then **Rules**.
3. Click **Add a Rule**.
4. Set a condition — for example, "Message is from" a specific customer, or "Subject contains" a keyword.
5. Set the action to **Forward to** and enter your Knead inbox address.
6. Click **Done**.
These rules run on Apple's servers, so they work even when your Mac is off. You can create multiple rules for different customers or keywords.
## Testing Your Setup
After setting up forwarding:
1. Send a test email to your Apple Mail or iCloud address from a different email account.
2. Open Knead and check your inbox.
3. The test email should appear as a new conversation within a minute or two.
If the email does not appear, double-check that you entered the correct Knead inbox address and that the forwarding rule is enabled.
## Troubleshooting
**Emails are not arriving in Knead**
* Make sure Mail is open on your Mac (for Option 1).
* Check that the rule is enabled in Mail > Settings > Rules.
* Verify you typed the Knead inbox address correctly — look for typos in the slug.
**Only some emails are forwarded**
* Check your rule conditions. If you set "Subject contains order," emails without "order" in the subject will not be forwarded.
**Duplicate messages in Knead**
* If you set up both a Mac rule and iCloud forwarding, emails will be forwarded twice. Use one method, not both.
## Related Articles
* [Setting Up Your Inbox](/communication/setting-up-your-inbox)
* [Setting Up Email Forwarding](/integrations-and-setup/setting-up-email-forwarding)
* [Connecting Gmail](/communication/connecting-gmail)
* [Order Intent Detection](/communication/order-intent-detection)
***
*Still need help? [Contact us](mailto:hello@kneadapp.co)*